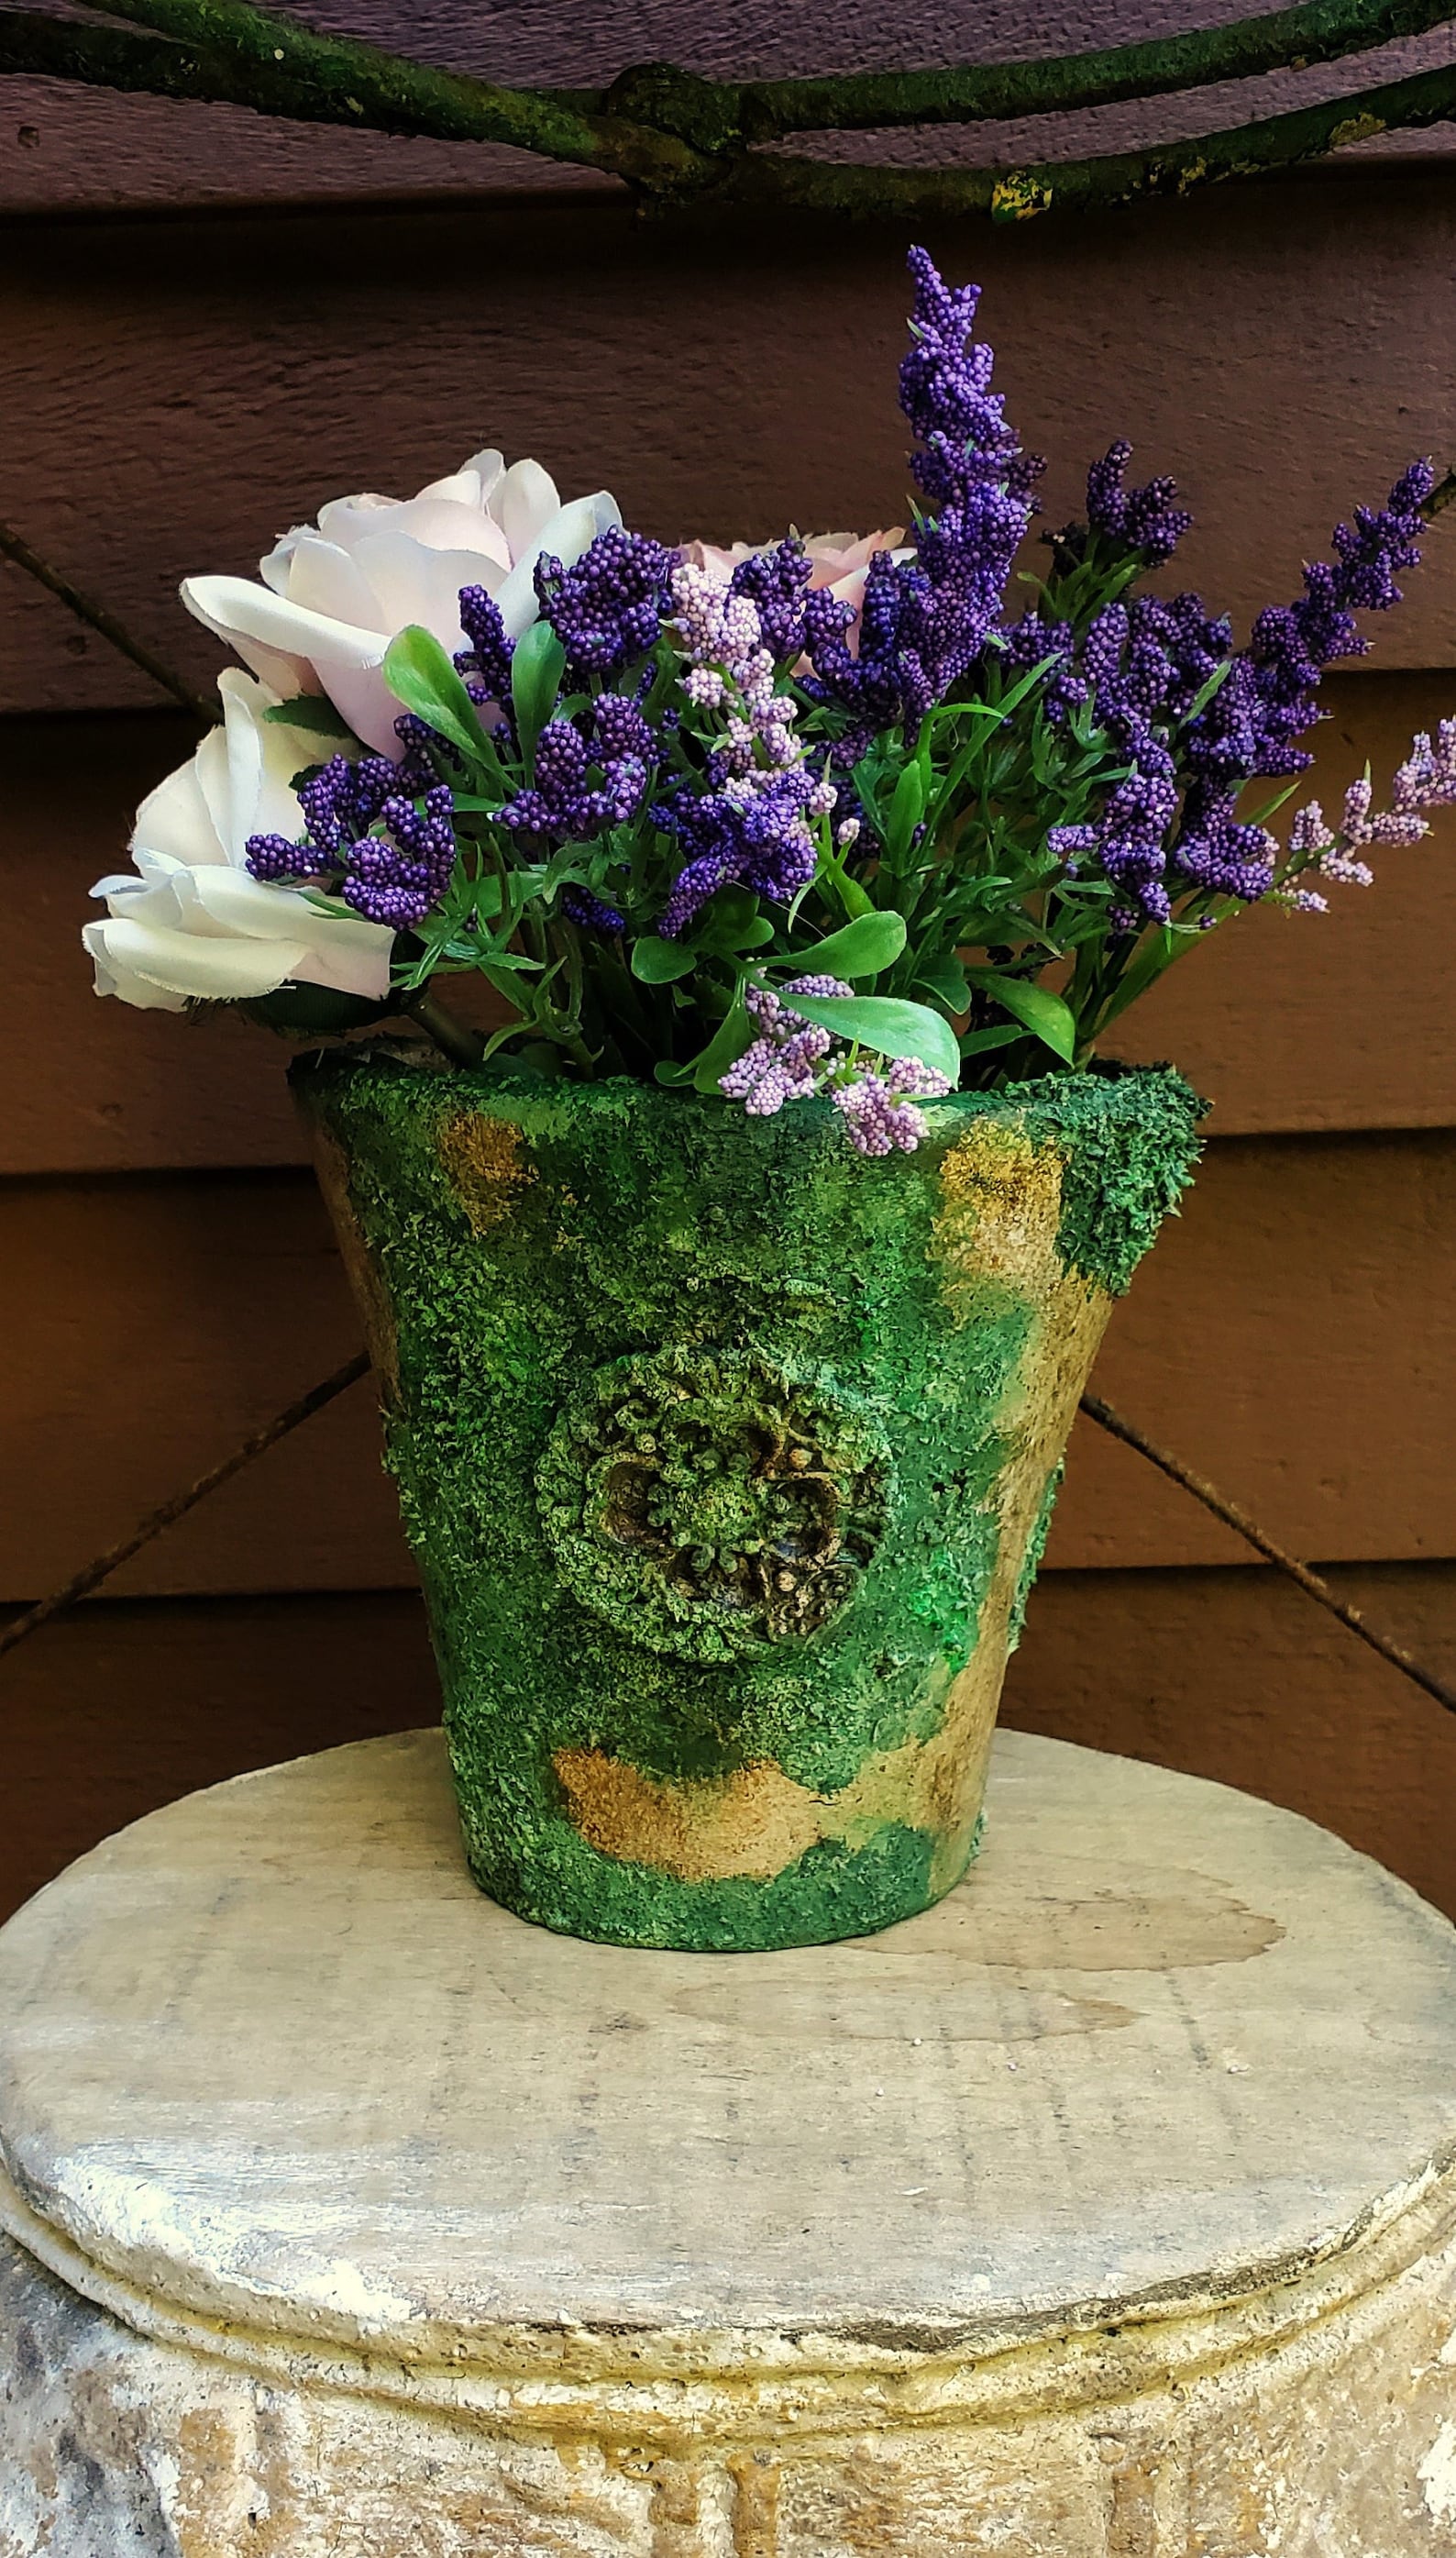
You will hardly find a more beautiful vase than the Terracotta one. Except for a moss-lined Terracotta vase, that’s the pinnacle of style. Terracotta vases are timeless, and they gain that extra irresistible charm as they age. If you don’t want to wait years, you can age your Terracotta vase with some beautiful moss, and I will show you how.
Why aging terra cotta pots?
Terracotta is a clay firing procedure that dates back to 29,000 BC and has retained its allure. Once there was only natural aging, while nowadays, there are various techniques to age Terracotta and give it an aura of antiquity and mystery. Some people use:
– lime,
– yogurt,
– paint,
– fertilizers,
– and more
but I’m going to propose a much more excellent aging method, which is to use live moss.
Isn’t it easier to use yogurt or paint?
Let’s start immediately with consideration; I have nothing against using yogurt or paint to age terracotta pots; on the contrary, I find them very beautiful and easier to make than moss.
Below I leave you two videos to consult if you want to go for a more straightforward DIY project to age your vases. But I want to use moss for two reasons:
1. the effect is completely different,
2. and live moss becomes a decoration but is a plant within a plant, a bit like Kokedama.
How to Grow Moss in Terra Cotta pots
Moss attaches very well to everything that stands still and is porous, like stone or terracotta, which is not glazed but remains porous, an ideal condition for moss spores to attach and thrive.
Get ready to add some serious green flair to your terracotta pot! By growing moss on its surface, you’ll create a unique and stunning planter that’s like no other.
The terracotta’s warm, earthy tones perfectly complement the moss’s vibrant green, creating a visual feast that’s sure to impress. And the best part?
This simple and oh-so-effective technique is a cinch to do and will bring a touch of nature to any indoor or outdoor space. So, let’s get our green thumb on and elevate our spaces with a pop of playful greenery.
Materials Needed
- 2 cups of live moss
- 2 cups of live cultured buttermilk or plain yogurt
- a Blender
- Containers or brush
- Un-glazed terracotta pot
1. Preparation of “live mix”
First, preparation of a magical “Living Mix”!
This mix is a delicious blend of live moss and a choice of either cultured buttermilk or plain yogurt, pulsed to perfection in a blender. The result? A thick and oh-so-creamy mixture that’s ready to cover your pots and bring on the mossy magic.
So grab your blender, and let’s get ready to transform those terracotta pots into green masterpieces!
To prepare the “Living Mix,”:
1. add 2 cups of live moss and 2 cups of live cultured buttermilk or plain yogurt into a blender. 2. Pulse until a thick, uniform consistency is achieved
3. Use the pulse button to blend the mixture a little at a time until you reach a wide, uniform consistency with bits of moss.
You want it to be like a carrot cake batter with bigger chunks, not pulverized to a completely smooth, smoothie texture.
2. Paint your vase with the mix!
Brush a generous layer of the newly created mixture onto your vase. The moisture in the yogurt will help the moss stick and give it the hydration it needs to settle into its new home.
3. Incubate for two to three weeks.
During the incubation stage, it is vital to maintain ideal growing conditions for your new mossy friend.
Keeping the pot in indirect light .
This will ensure the moss receives the right amount of light for growth while misting it with water will keep it hydrated and provide the humidity it needs to thrive.
To mist your terra cotta pot, use a spray bottle or a gentle misting sprayer to lightly spray the surface. The goal is to keep the moss evenly moist, not soggy.
It is best to spray the vase in the morning or in the evening, avoiding direct sunlight, which can cause the water to evaporate too quickly.
Over the next few weeks, keep an eye out for moss growth. You will notice that it starts to turn a lush green color and becomes more lush and full as it settles on the vase. With a little patience and proper care, you’ll have a beautiful and unique moss-covered clay pot in no time!
Alternative method.
There is an alternative method, simpler and faster, but only sometimes a guarantee of excellent results. The premise is that you need alive and in excellent health moss.
You have to fix the moss to the vase, inserting a part of it inside so that it straddles the edge. After that, you can use water to moisten it and fix it further with your hands. It will stick and start growing within a few weeks if you give it proper attention.
This method is the best if you intend to place the vase in an aquarium (be careful to use an aquatic moss of course)
Select the right moss.
The best mosses to grow on a terracotta pot are species that are known for their ability to thrive in moist, shady conditions.
Some popular options include Irish Moss, Pincushion moss (Leucobryum Glaucum), Spoon-leaved moss (Bryoandersonia Illecebra), Sheet Moss (Climacium Americanumis), Peacock moss (Selaginella kraussiana).
These species of moss are known for their ability to grow quickly and maintain their vibrant green color, even in low-light environments.
Mosses are a type of plant that can survive in various climates and conditions. One of the reasons why mosses live on Terracotta is that they need water, moisture, and sunlight to thrive.
“Mosses belong to a group of plants known as the BRYOPHYTES. Bryophytes have no roots, but they do have thin (one cell thick!) root-like structures which serve for attachment and water absorption. These are known as RHIZOIDS.” (University of Santa Barbara)
Terracotta provide all three elements in abundance, as they hold onto moisture longer than other surfaces and reflect sunlight into the crevices, helping the moss grow. Furthermore, Terracotta provide a rough surface that helps mosses attach themselves to and then benefit from nutrients found in the Terracotta itself.
Some inspirational ideas.
I want to show you some ideas for growing moss on clay pots. Depending on the style you want to recreate, you can use different mosses or techniques.
If you like, you can write to me and share your beautiful aged terracotta pots with moss with all of us.
Ready-made
If it seems too complicated or you don’t want to wait, you can buy an already “musked” aged pots on Etsy.