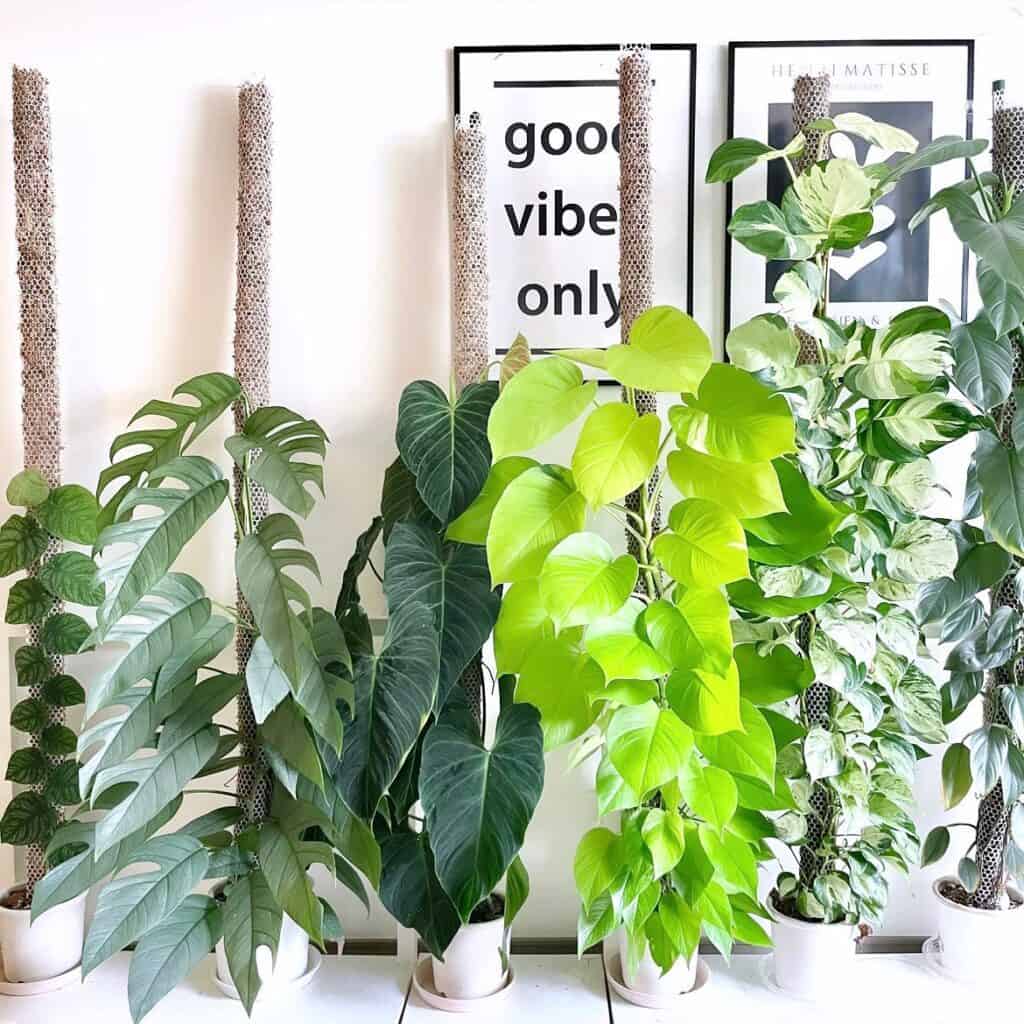
If you have arrived here, you need support. But not for you, but for your beautiful Monstera or split-leaf philodendron, Swiss cheese plant, or window leaf ( Monstera deliciosa ) if you prefer.
I will only bore you with some of the stories about this plant, which is one of my favorites for apartments because you already know all about it. I will help you choose the best moss pole support for your Monstera.
What is the best moss pole for Monstera?
For me, the best moss pole is undoubtedly the one made of coconut fiber (and below, I’ll explain why if you’re interested..).

Then, on the type of pole, whether bendable, stackable, DIY, or fixed, you could discuss at length; I leave you a comparison of the best products that you can find here.
Why Monstera Plants Need Support
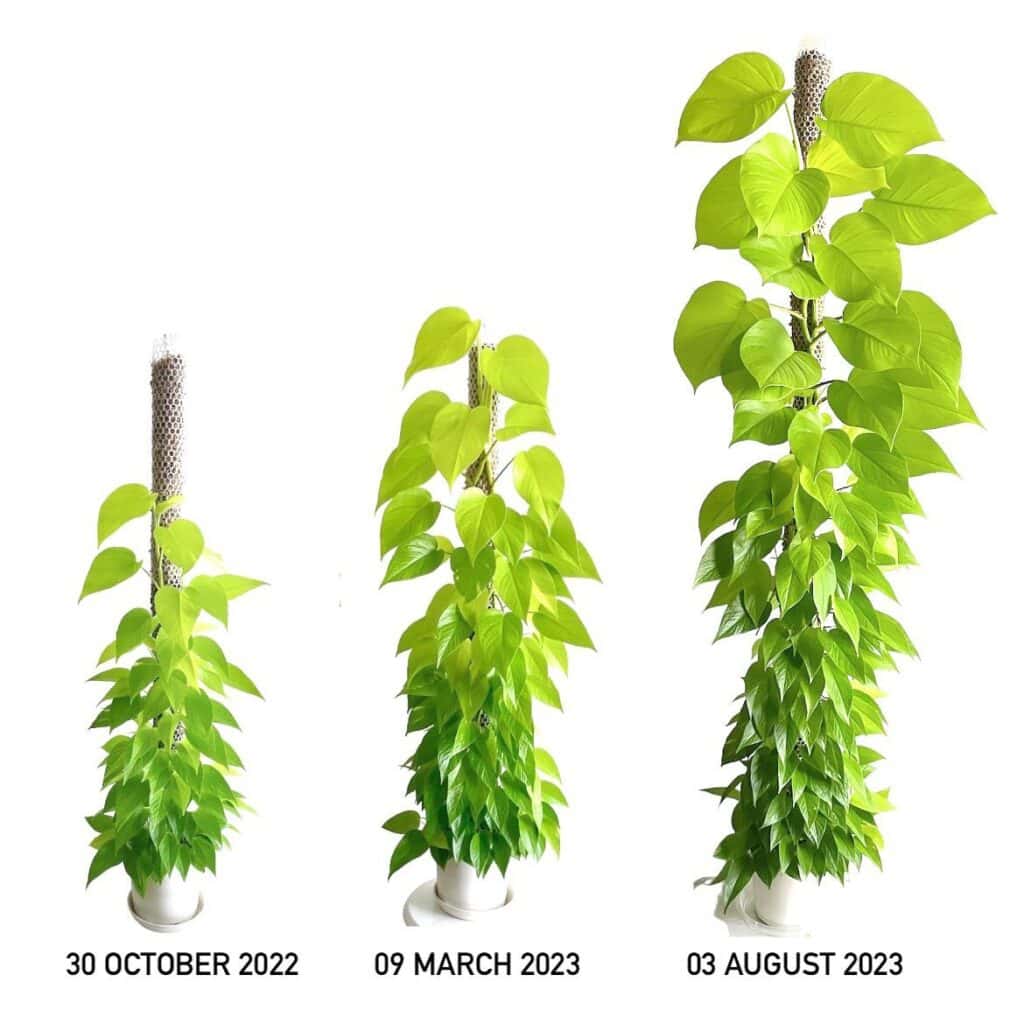
Attaching your Monstera to a moss pole is a great way to give it extra support and create a more natural growing environment. After all, Monstera plants are epiphytic in nature, which means they’re used to growing on other things like trees in the wild.
So, by giving your Monstera a moss pole to cling onto, you’re giving it a vertical support system that’s much more in line with its natural tendencies.
However, in order to ensure that your Monstera plant stays upright and healthy as it grows indoors, it can be helpful to add a moss pole.
This type of support is essential for climbing plants like Monsteras, as they will use the pole to grip onto and continue to grow vertically.
A moss pole can also provide an additional source of humidity for the plant, which can benefit Monsteras, which are native to rainforests.
While it’s not a strict requirement for the plant, many gardeners and botanists recommend moss poles (CTAHR Department of Horticulture ) as a means of support for climbing plants like Monstera. This can help ensure that your plant remains healthy and happy as it grows and can also add a decorative touch to your space.
Types of Moss Poles Available

When it comes to selecting a moss pole for your Monstera, there are a few different types available on the market. One popular option is the coco coir pole, which is made from compressed coconut fibers (spoiler alert: it’s the best for your Monstera).
These poles are known for their durability and natural look, as well as their ability to retain moisture and provide an additional source of humidity for your plant. Another option is the sphagnum moss pole, which is made from a type of moss that is known for its ability to retain water and provide a natural grip for aerial roots.
These poles are often wrapped in twine or jute for extra support.
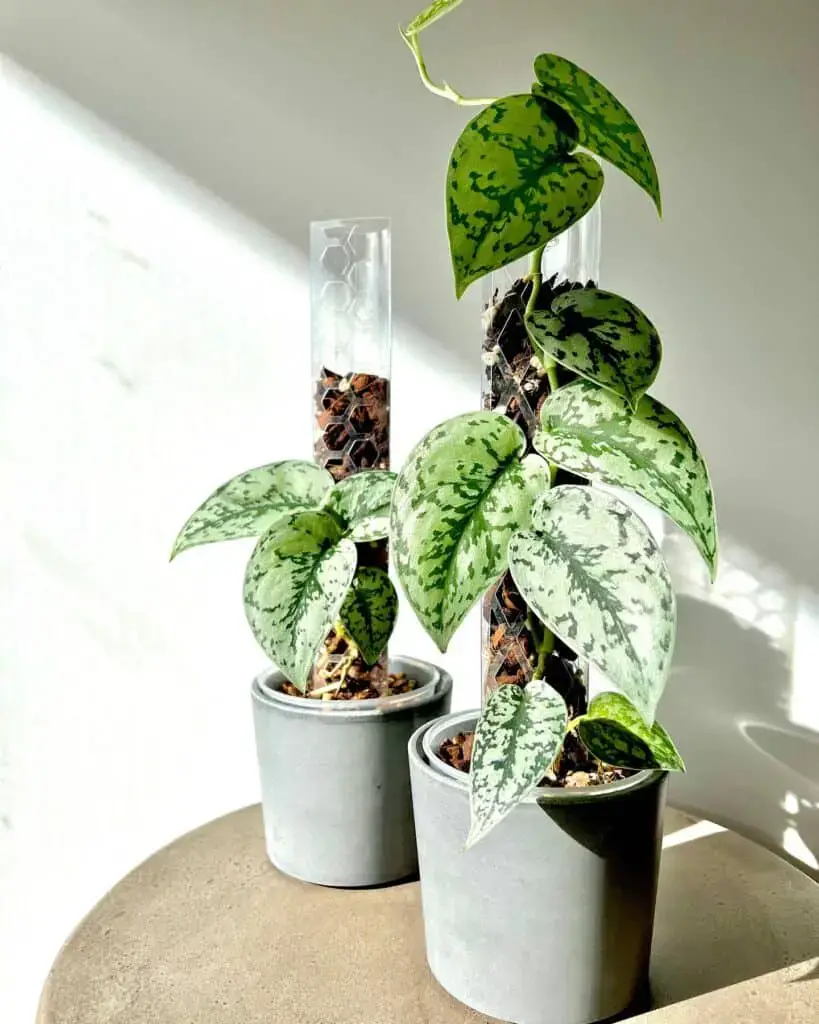
Lastly, a trellis is another option you can use to support your Monstera. A Trellis is a structure of lattices or wooden bars used to support climbing plants. They are often made of wood, bamboo, or plastic and can be a decorative addition to your indoor or outdoor space.
Okay, if you have yet to notice, you’re on a moss site, so you’d expect me to recommend Sphagnum Moss pale.
Wrong. The best is the coco coir pole, and it is the best for a simple reason: it requires less humidity, and therefore, we will alter the ideal conditions of the Monstera to a lesser extent, which requires medium and not high humidity.
Second, but by very little, is the sphagnum moss pole, of course.
You May Also Like To Read:
Selecting the Right Size Moss Pole for Your Monstera
Seven simple words: proportionate to the pot and the plant.

This is the rule for the right size. The moss pole must not be excessively long if the pot has a small circumference and size because it would risk tipping it over, and on a small plant, there is no need for a very long or large circumference pole because it does not grow in a day and is absolutely useless have a post as tall as a person on a 10-inch seedling.
On the other hand, a small post on too large a plant would also be useful as it would not provide support for vertical growth. There’s no point in attaching your plant to a pole if it’s going to be dragging on the floor next month, right?
Next, give some thought to the width of the pole. If your Monstera is a bit on the “sprawly” side, you may want to select a wider pole so that it has more surface area to cling onto.
My rule of thumb is to use moss poles about twice the length of the plant.
Attaching Your Monstera to the Moss Pole
Once you’ve got the right pole, it’s time to get your Monstera in on the action. You can do this by gently wrapping the aerial roots around the pole and making sure the plant is securely attached. Then, sit back and watch the magic happen as your Monstera begins to climb the pole and grow taller.
Maintaining and Caring for Your Moss Pole
Just remember, as always, with great power comes great responsibility. A moss pole is a great tool, but it also means that your plant will need regular maintenance to ensure it stays securely attached and healthy. So don’t neglect your Monstera just because you’ve given it a cool new support system.

Maintaining and caring for your moss pole is important in ensuring that your Monstera stays happy and healthy as it grows. After all, a moss pole is like a personal trainer for your plant – it’s there to help it grow strong, but it’s up to you to make sure it’s doing its job properly.
First things first: keep an eye on your plant as it grows. Make sure it’s securely attached to the pole and that the aerial roots are making good contact with the moss. If you notice that your Monstera is starting to sag or lean, it may be time to give it extra support. You can always use string to tie the plant to the post in places you deem necessary.
Next, keep an eye on the moisture levels of the moss pole. While a moss pole can provide an additional source of humidity for your plant, it can also dry out quickly if you need to be more careful. Be sure to mist your moss pole regularly; if you have chosen the coconut coir moss pole, it will be enough to wet it completely once every 15 days. If, on the other hand, you have chosen the sphagnum moss pole, I advise you to always keep it slightly damp, or you can give it a good “hit” of water once a week like a guy in this video does.
And lastly, remember the pole itself. While a moss pole can be a great addition to your garden, it’s also important to make sure it’s in good condition. Check for any signs of rot or damage and replace the pole or the damaged parts if you can.

In summary, a moss pole can be a great way to provide support and a more natural environment for your Monstera plant, but it’s up to you to ensure that it’s working properly and that your plant is happy and healthy. It’s like having a personal trainer for your plant; remember to check in on it regularly and give it a little extra support when needed.
I’ll leave you with a small personal consideration. I don’t like to see too many posts as some do. I prefer the plant to dominate the scene and not the post, which is why I don’t exaggerate with the height, leaving it just above the plant, and I prefer to make additions to the post regularly rather than a set and discard situation where. However, I have seen the post at home for months.
Video on Watering strategy for Moss Pole
I want to share with you this video, which discusses various ways to water and maintain a moss stake for a Monstera plant. In the video, you see a watering strategy: use a water bottle with liquid fertilizer, drill a few holes in the lid, and turn it upside down on the posts (personally, you can avoid the fertilizer).
If you decide to use this strategy, I recommend that you check the humidity levels. Your Monstera doesn’t like too much humidity, and if the pole itself is excessively humid, it risks rotting.
Propagate Monstera with Moss Pole
Propagating your Monstera plant using a moss pole is easy and practical and a great way to make your own personal jungle! Moss poles are more than just a support stake; they’re like a mini-trek for your Monstera to climb and show off their aerial roots.
First things first, grab a pair of scissors and a Monstera stem with at least one node or small bump from which new roots will grow. The best place to grab a cutting is near the base of the plant; it’s like the “senior class” of the stem.
Next, prepare your moss pole by wetting it if it’s dry. This will make it easier to work with and give your moss pole a refreshing spa day. Now, insert the cutting into the moss pole, ensuring that the node is in contact with the moss. You can tie the cutting in place using twine or jute or use wire mesh to keep it stable. It’s like giving your cutting a safety harness to climb the moss pole.
As the cutting takes root, keeping the moss pole moist and in bright, indirect light is essential. This is like giving your child a water bottle and sunscreen. Once the new growth is established and the cutting is rooted in the moss pole, you can transfer it to a pot with fresh soil or another support. It’s like graduating your cutting to a bigger pot or a bigger jungle.
Remember that not every cutting will root successfully. Still, with proper care and attention, the majority will take root in the moss pole. To increase the chances of success, some gardeners might also add fertilizer created specifically for Monstera. It’s like giving your cutting a little boost of energy. Remember to monitor the new plant and ensure it gets enough light and water. Happy climbing!
Use sphagnum moss directly for propagation.
Fantasy is our limit. There are those who, like the girl in this video, use sphagnum moss as the basis for the propagation of your cutting. The video is only 5 minutes long and is worth checking out.
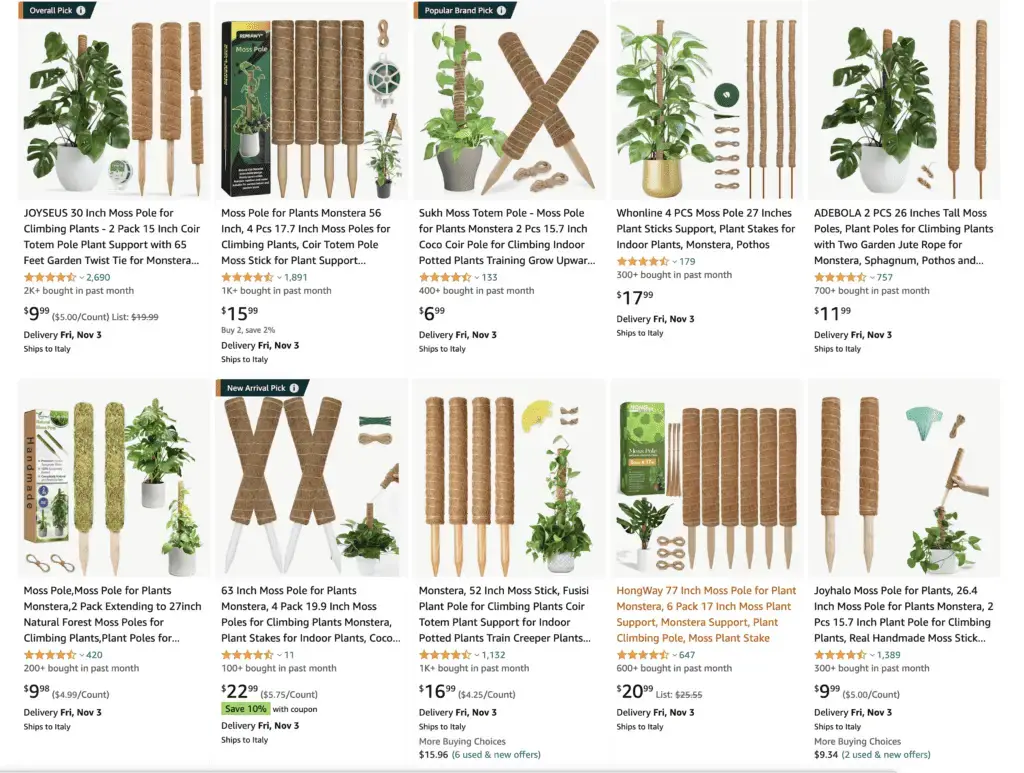
The best moss poles to buy online.
Oh, we’ve come to the point. We have chosen our type of moss pole, understood which size to use, what care to dedicate to it, and how to attach our plant to it; there is nothing left to do but buy the best possible one at the most reasonable price. Here are my case selections.
Best Coco Coir moss pole kit for beginner
If you’re starting out, the best moss pole you can buy is this expandable pole kit. You can insert the first smaller one when your Monstera is still small, and as soon as it grows, you can comfortably stack another pole, and so on, until your plant reaches the desired height. As I recommend it for beginners, it is a coco coir moss post, and this, too, benefits the novice as it requires less attention and care.
You can also find other brands; I recommend these because I tried them directly, and I found them good.

Best moss pole for intermediate-level
This moss pole is perfect for you if you want to dare a little more but without going too far. The post has a pre-formed and stackable trellis, which makes it super easy to use, whilst the contents, which in this case is sludge moss, come in an envelope with all the instructions for preparing it and inserting it into your moss post.
The reviews are excellent, and I, too, had a good time. A 21-inch pole costs around $22.
Pro level for frequent use
If you’re handy with Do It Yourself, you can build your moss post using a few simple tools that will get you exactly the result you want at a lower cost per single post (as long as you make several).
For how to do it, I refer you to this video tutorial.
In this video, we discuss making a DIY moss stake for Monstera plants. As you can see, the materials needed to make a moss pole are sphagnum moss, wire mesh, and twine, and you can also see the simple procedure of how to make and wet the moss pole, tie it all together and how to use a nipper to cut the cable.
It is optional to use the same products in the video; you can use this wire mesh: https://amzn.to/3ZxLOBm. For the moss, I would choose this: https://amzn.to/3CMRCNH.
